How to Draw a Daisy - Step by Step
By Jan Wood Harris
I am delighted to share with you this wonderful tutorial on 'How to Draw a Daisy' by Jan Wood Harris - created especially for www.homeschooling-ideas.com
Drawing has been a big part of our homeschooling - and drawing flowers is something my children love to do. So I was delighted when Jan offered to write me an easy flower drawing tutorial - with step by step instructions.

This free flower tutorial was written by Jan Wood Harris, author of
Ms Wood's Wild Art AdventuresFind out more about Jan's book and how to see more of her tutorials at the end of this page.
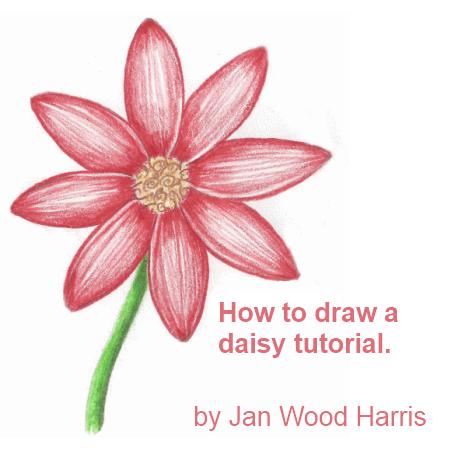
How to draw a cool daisy!
You know how sometimes it's so hard to draw a flower that's even all the way around? when all the petals turn out to be a different size?
Well, follow these simple steps and Shizaam! A perfect enough little flower!
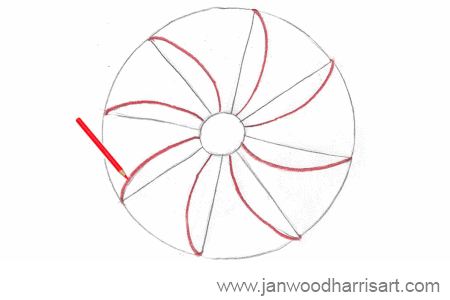
Let's start with a big circle and a little circle in the middle. Then draw 2 X's within the big circle. These lines will be the center of each petal and the big circle is how long each petal will be...Easy!
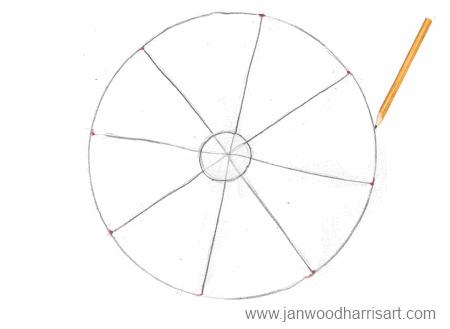
Since this flower is Red, (yours can be any color you like!) let's follow the Red lines now. Draw a curved line from the top of your pencil line down to the circle. Look close - the red line only touches the pencil line at the tip of the petal, and only comes close at the base!
Fascination with Observation - kinda looks like apple slices....
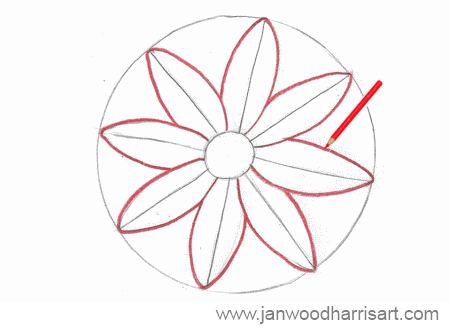
Next, let's draw the other side of our petals. This line starts at the tip of the petal and touches half-way down the red line of the next petal. This creates 'OVERLAPPING' and gives a realism to your flower.
(Go ahead and erase the pencil lines in your petals and the outer circle).
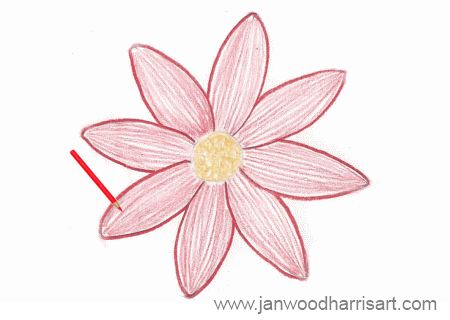
Flower petals have a smooth 'TEXTURE' which is shown here with pencil 'strokes'. In this case, we're going to color in the petals'lengthwise', from center to tip. Notice, the curve of the inside pencil strokes follows the outside curve of the petals.
Another Fascination with Observation! -Color golden in the center with squirrly, spirally strokes!
Ok, now comes the fun part.... Detail! Notice how the red is darkest at the very tip of the petal and where it connects with the center. This is alled 'SHADING'. Going from dark to light like this gives the petal a slight curved look, don't you agree?
For the center, to add more fun 'TEXTURE', use a darker colored pencil and draw some silly spirals and swirlies.
The stem is colored all light green, then just under the petals and down one side is a darker green. Again, this 'SHADING' creates the illusion of a round stem.
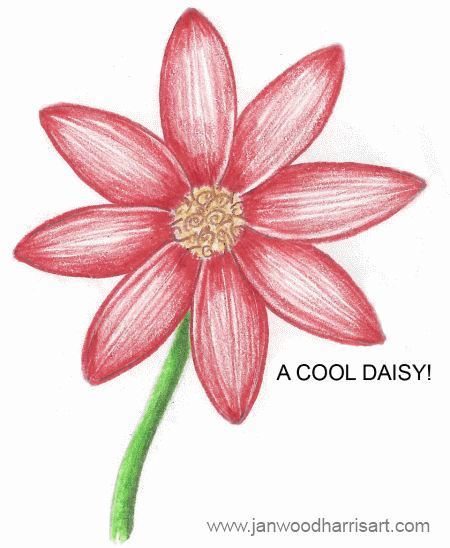
Now you know how to draw a daisy, you are ready to create your flower garden!!
|
As a Children’s fine art teacher for over 20 years I’ve learned so much from my students, as they have hopefully learned from me. Children have such rich imaginations & are always telling their own stories through their drawings. Through those imaginations, much can be learned. So it just made sense to combine art instruction with simple storytelling in this charming, richly illustrated book…. MS. WOOD'S WILD ART ADVENTURES |
View Jan Wood Harris - Art for more art and other books by Jan
View Facebook Page: Jan Wood Harris-Students Art Gallery/Forum for more tutorials and samples of students artwork.

Many thanks to Jan for creating this easy art tutorial on how to draw a daisy.
Do go and check out her book. It contains step by step examples of how to draw clouds, Toucans, leaves, spears and more. And is also filled with examples of Impressionist, Modern Art and Realism artists and their paintings and drawings of clouds, plants and birds in different mediums.
This would make a great book to complement your homeschooling art lessons.
Go to homeschool craft ideas from Draw a Daisy Tutorial
Go to Homeschooling-ideas.com Home
Lovely messages sent from visitors like you:
Oh my goodness! I am a home schooling mum of 4 and I have NEVER found a better site! Thank you so much.
Blessings, Jenny (New Zealand)
I wanted to say THANK YOU for your fabulous website. I found your website, and finally I have the confidence to take the plunge and take my daughter out of school and educate her at home, thank you, thank you.
Marina (UK)
I cannot get over how much great information and super ideas you have here. Fantastic!
Ruralmama (USA)
This is simply fabulous!! I just now found this site and I'm so excited!! The opportunities and suggestions as well as the need to inspire are exactly what I have been searching to fulfill!! I'm so thrilled to get started and even more excited to continue to explore all of the fabulous suggestions and creative ideas you have offered here!!! Thank you, thank you, thank you!
Jennifer (USA)

