Homeschool Science
Chemical Experiment with Pine Cones
Homeschool Science can be really fun. Did you know that different chemicals produce different colored flames?
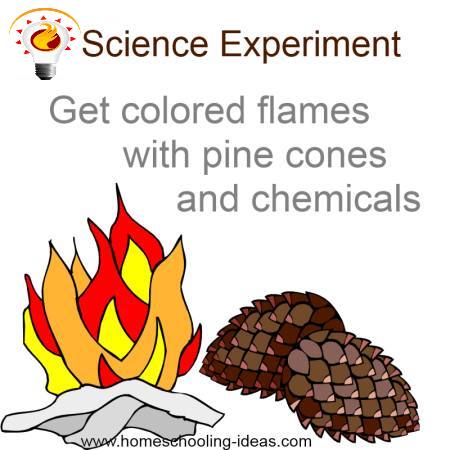
This easy pine cone experiment shows you the different reactions caused by different chemicals (and tells you why!). By soaking pine cones in different solutions, and then burning them - you will see different colored flames. This would be a great Fall activity!
Creating Flame Colors with Chemicals
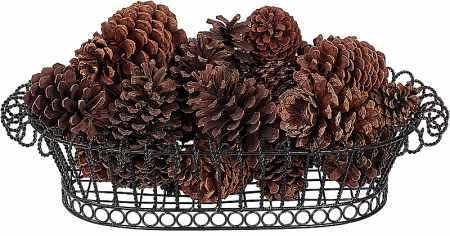
You will need to prepare ahead for this activity. It requiresDivide the pinecones depending how many chemical elements you have. Next dissolve the chemical element in the water and add the pinecones. You need to leave them to soak for several hours but preferably overnight. The pinecones need to be submerged - if you are having trouble, try putting them in a mesh bag in the water, and placing rocks on top.
After they have soaked, remove the pinecones from the water with tongs, and let them dry. We normally place them on newspapers (be careful where you dry them as they may stain some surfaces). You need to let them dry for about 3 days before you use them.
When you burn them, the pinecones will give off different colored flames. They are safe to burn in your fireplace (although I would avoid mixing the cones), or build a bonfire outside.

Which chemicals to use?
The easy ones to get hold of are :Homeschool Science Explanation
Why do chemicals burn with different colors?
Ok! Each chemical element has electrons in different energy states around an atom. When heated, energy is absorbed causing the electron to become excited, but unstable. When the electron returns to its lower energy state (ie, as it cools at the top of the flame) the energy is released in the form of a photon(light). The energy of the photon determines the wavelength or color.
Ta Da!! That what comes of being married to an (ex) Physics Teacher!!
CAUTION: Supervise this activity with care.
This experiment takes a bit of effort - but the pine cones are very pretty to burn afterwards.
If you would like to try another chemistry project, then how about learning how to smelt metals in a kiln.

More Homeschooling Science Ideas
Go to Homeschooling-Ideas Home Page from Homeschool Science
Lovely messages sent from visitors like you:
Oh my goodness! I am a home schooling mum of 4 and I have NEVER found a better site! Thank you so much.
Blessings, Jenny (New Zealand)
I wanted to say THANK YOU for your fabulous website. I found your website, and finally I have the confidence to take the plunge and take my daughter out of school and educate her at home, thank you, thank you.
Marina (UK)
I cannot get over how much great information and super ideas you have here. Fantastic!
Ruralmama (USA)
This is simply fabulous!! I just now found this site and I'm so excited!! The opportunities and suggestions as well as the need to inspire are exactly what I have been searching to fulfill!! I'm so thrilled to get started and even more excited to continue to explore all of the fabulous suggestions and creative ideas you have offered here!!! Thank you, thank you, thank you!
Jennifer (USA)


